
Written with Obj-C
Objective-C is the primary programming language used when writing software for OS X and iOS.
Sprite Kit
Learn Sprite Kit, Apple’s very own 2d game engine built right into Xcode. This course will teach you how to create fast paced games with an incredibly easy-to-use physics engine.

Learn more about your instructor...
This course is taught by Justin Dike, owner and lead developer at CartoonSmart.com, creator of the Fantastic Worlds iOS Starter Kits, and author of iOS Game Programming with Xcode and Cocos2d (published by Focal Press). Justin has been programming iOS games since the release of the first iPhone and has been teaching development for just as long, covering mostly game related topics. He’s proficient with Cocos2d, Sprite Kit, Objective-C and most recently Swift.
Option Screens for both UIView or Sprite Kit Apps.
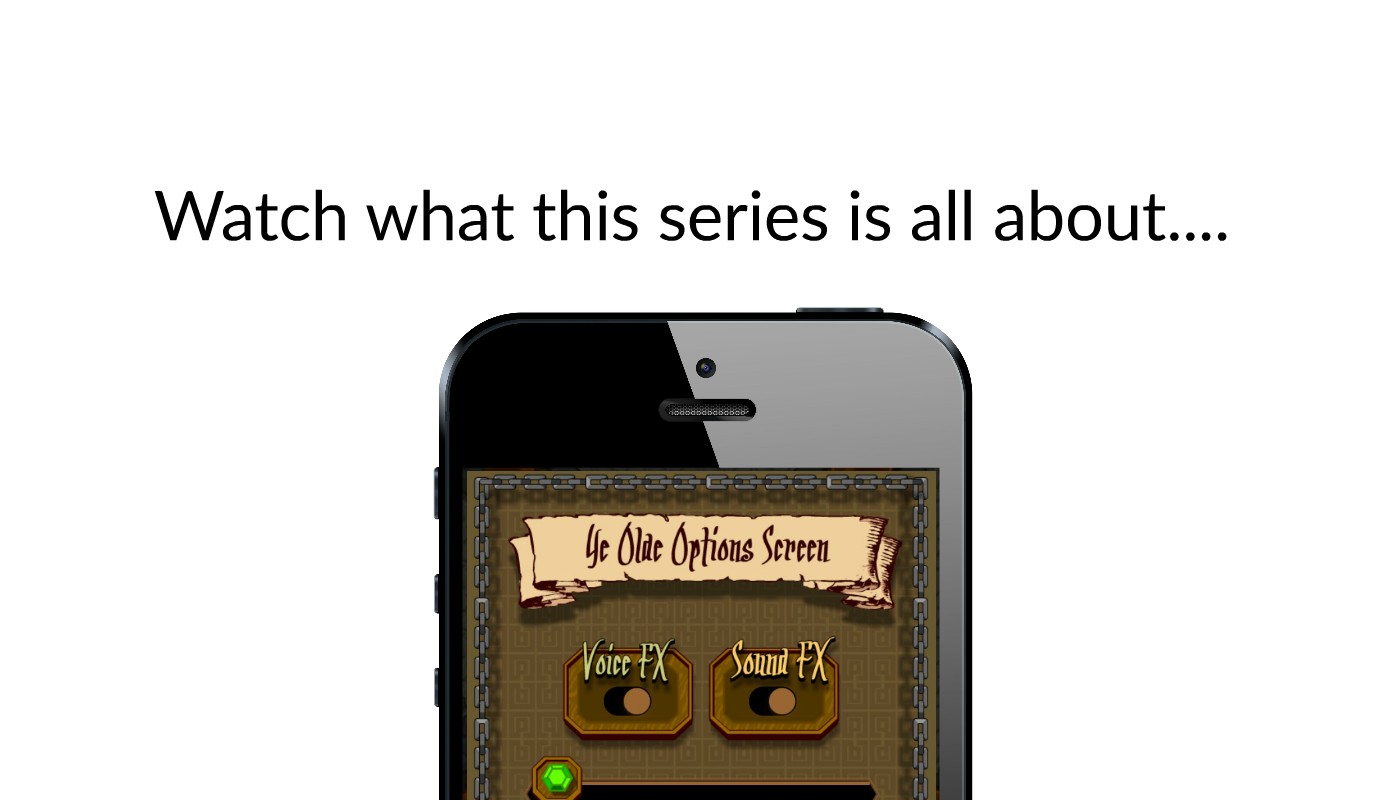
In this tutorial, we will focus entirely on creating an Options screen, using a Single View Application or Sprite Kit based project. We’ll create UISwitches, UIButtons, UISliders, UISegmentedControls, groups of buttons that act like segmented controls, and finally, a UIPickerView. Picker views can be made up of single or multiple columns of “spin-able” data. For example, Apple’s Clock app has a Timer function made up of a double column UIPickerView.
In our hypothetical project we will create a 3-column picker view which populates itself using data from a Property List file. This data is split into a column for the level name (“Ocean, Bad Lands, etc”), a column for the mode of game play (“Kill X” number of enemies, “Collect X” number of coins, or “Beat the Clock”) and third column for a number parameter to tweak the difficulty of each game mode (for example, you could add more time to the “Beat the Clock” mode or add more enemies to kill). We will make the wheels interconnected as well. So if you spin the first wheel to set the level, it will change the other two wheels which will default to the settings defined in the Property List for the level. If you spin the middle wheel to change the game mode, it will automatically change the third wheel to use a different range of numbers (one mode of play might be best with a small range like 1-15, but another might work better in increments of ten, like 60-300). All of our data is stored in a singleton AppData class, which serves as a go-between to use our preference variables with any other class. You’ll see how to test any changes made in the OptionScreen class with the main game class.
The source projects are saved in increments throughout the tutorial series, for both UIView and Sprite Kit based projects. Also included are the images to use throughout the course. The project has been updated for Xcode 6.1.

After four sessions you’ll be a master at creating various options for your users.

Session 1 – Introduction and Initial Setup
- Introduction- 3:26 – An introduction to this tutorial.
- AppData Singleton – 9:33 – In this video, we’ll create a singleton class to store values which we will pass back and forth between the main app’s class (or game engine) and the options screen.
- Creating the Options Screen – 13:59 – In this tutorial we will create the OptionScreen class to be used with either a UIView class called MainGame or with a Sprite Kit based class. We’ll test the classes with simple NSLog statements, in both projects.
- Using a UIButton to Launch the Options Screen – 19:12 – In this video we will create a UIButton to launch the OptionScreen from either a UIView project or Sprite Kit project. We will look at positioning and sizing the button differently based on the device. And we will also format the title of the button using a UIFont.
- Opening and Closing the Option Screen – 21:54 – In this vide we will finally show something in our Options Screen. To have a bit of fun, we will make the screen open overtop the main app (or game class) at about 95% of the device’s height and width, leaving a border around the Option Screen to the class below. Then we will test using the touchesBegan method to see if the user touches outside of that border, if so we return to whatever class opened the Options Screen.
- NSTimer / SKAction for Fading and Tinting – 20:30 – This optional lesson teaches how to use a repeating NSTimer or SKAction (in the Sprite Kit project) to fade in a tinted background behind the Options Class. We’ll do this using a UIView with the backgroundColor set to black, and changing the alpha value over time.

Session 2 – UISwitches, UISliders, UISegmentedControls and UIButtons
- UISwitches – 19:14 – In this tutorial, we will add two UISwitches to the Options Screen. These are simple toggles (off or on) which could be used to mute sound FX or set another preference between two settings. We will save the values of these switches in the AppData singleton so whenever the Option Screen is opened it initializes using the last settings saved.
- UISliders – 17:17 – In this video, we will set up a UISlider, this could be used to fine tune a setting in the game (for example, “slide to adjust the rate of acceleration in a plane game”). The minimum and maximum range can be any number (1 to 10, or 50 to 10,000), whatever works best for your needs. Again we will save the value of the slider to the AppData class so when the Options Screen is opened next, the slider is set back to the same value.
- UISegmentedControls – 5:50 – In this video, we will go over creating a UISegmentedControl. This style won’t exactly “gel” with our project’s look, but we will create a similar button group in the next video.
- UIButton Groups – 17:55– In this video, we will create a group of UIButtons to select a hypothetical weapon to use. Turning one button on, will turn off the other buttons, similar to a UISegmentedControl group. As usual we will save this data to the AppData class.

Session 3 – UIPickerViews
- Create a Single Column UIPickerView – 24:18 – In this tutorial, you will learn how to create a basic single column UIPickerView.
- Using a Property List to Populate the UIPickerView Wheel – 13:30 – In this tutorial, we will create a Property List to store data for our three wheel UIPickerView.
- Switching to Three Component Wheels – 18:41 – In this tutorial, we will switch the UIPickerView to use three component wheels, then populate it with data from Property List.
- Spinning to Default Values Based on the Property List – 21:21 – This tutorial will finish off the first version of our UIPickerView by setting default values when spinning the Level wheel (the first wheel). So whatever settings are specified in the property list file, will get spun to automatically when changing the first wheel. In this version, wheel 1 (the Level Names) and wheel 2 (the Level’s type of Game Play) are locked together (the next version will change this).
- Interconnecting the Three Wheels – 14:46 – In this version we will polish off the UIPickerView and make it so the middle wheel only has three values (each mode of play is only listed once), and this wheel can also be set independent of the first wheel. In the previous version these two wheels would always spin to the same row.
- Testing from the Main Class for a Change in the UIPickerView – 13:15 – In this tutorial we will save the settings from the UIPickerView to the AppData class and test in our main game class whether we should reset the game (for example after a Level change), or change the mode of play, or parameter set in the UIPickerView.
- Return to Game Button – 2:18 – In this video we add a Return to Game button (in case it wasn’t obvious that tapping outside the frame of the OptionScreen would go back to the game).

Session 4 – NSUserDefaults and NSNotifications
- NSUserDefaults – 10:48 – In this video, we will save our variables to the standard NSUserDefaults, and use them to retain those same preferences even if the app is closed and restarted.
- NSNotifications – 8:41 – In this tutorial, we will quickly look at NSNotifications as an alternate means of alerting classes to a preference change (and passing NSObjects between classes via the notification).
After your purchase, you’ll always have the know-how to…
- Program a button to open a screen above your app’s main view.
- Use UISwitches to turn on or off functionality in your app or game (for example, mute sound)
- Work with UISliders to provide a range of possible values.
- Use UISegmentedControls to turn on or off options in a group
- Save option data to a singleton class
- Create buttons that tell buyers they’ve already purchased an item. Or prompt them to buy more.
- Use UIPickerViews to create single or multiple pickers.
- Interconnect multiple picker view wheels, for example spinning one to a certain value will automatically spin others.
- Use NSUserDefaults to save option-related variables
- Post NSNotifications to alert other classes that option-related variables have changed
Like all our tutorials, you get the finished Xcode projects from the course, which have been been tested with Xcode 6.1


Two affordable purchasing options, both with social-sharing discounts.
Purchase Option 1 - Lifetime Access
Get Lifetime Access to this course for a one-time purchase price. You can download (or stream) the movie files and download any source projects.
Already have Lifetime Access? You can get started watching the video tutorials from right here.
Purchase Option 2 - Subscription Access
Get access to this course and dozens more through the CartoonSmart Subscription. Stream videos from any of your devices and download any source files / projects.
Browse All Courses