
Written with Obj-C
Objective-C is the primary programming language used when writing software for OS X and iOS.
Sprite Kit Based...
Learn Sprite Kit, Apple’s very own 2d game engine built right into Xcode. This course will teach you how to create fast paced games with an incredibly easy-to-use physics engine.

Learn more about your instructor...
This course is taught by Justin Dike, owner and lead developer at CartoonSmart.com, creator of the Fantastic Worlds iOS Starter Kits, and author of iOS Game Programming with Xcode and Cocos2d (published by Focal Press). Justin has been programming iOS games since the release of the first iPhone and has been teaching development for just as long, covering mostly game related topics. He’s proficient with Cocos2d, Sprite Kit, Objective-C and most recently Swift.
Learn How to Program Role Playing Games with Sprite Kit.
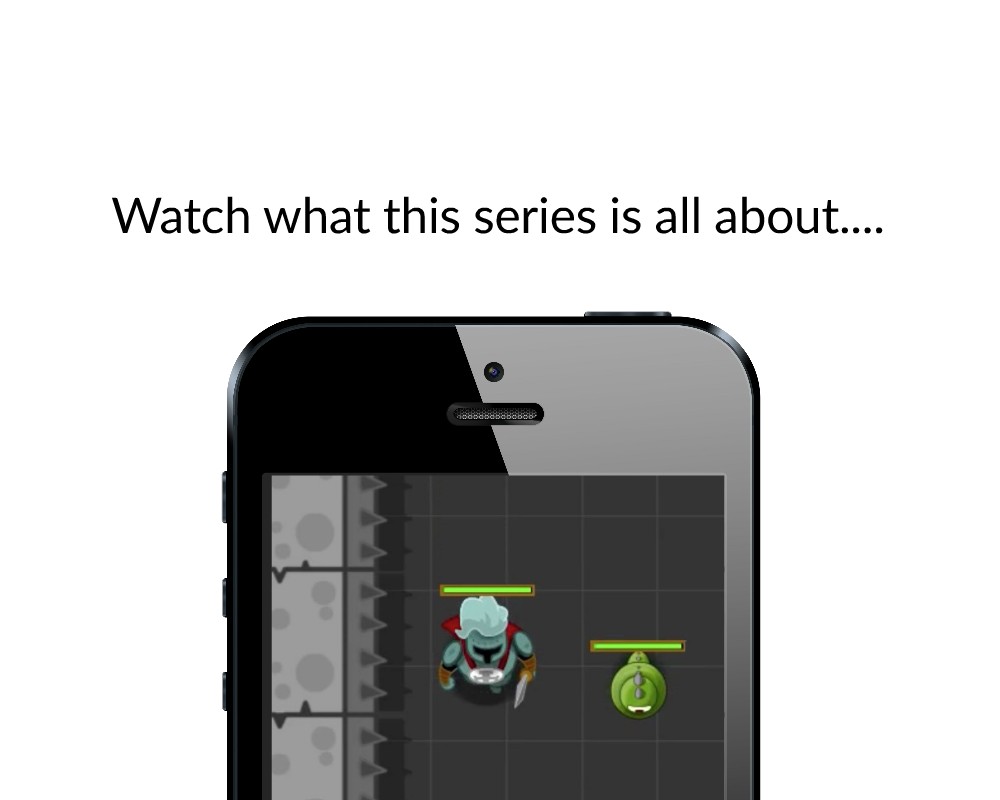
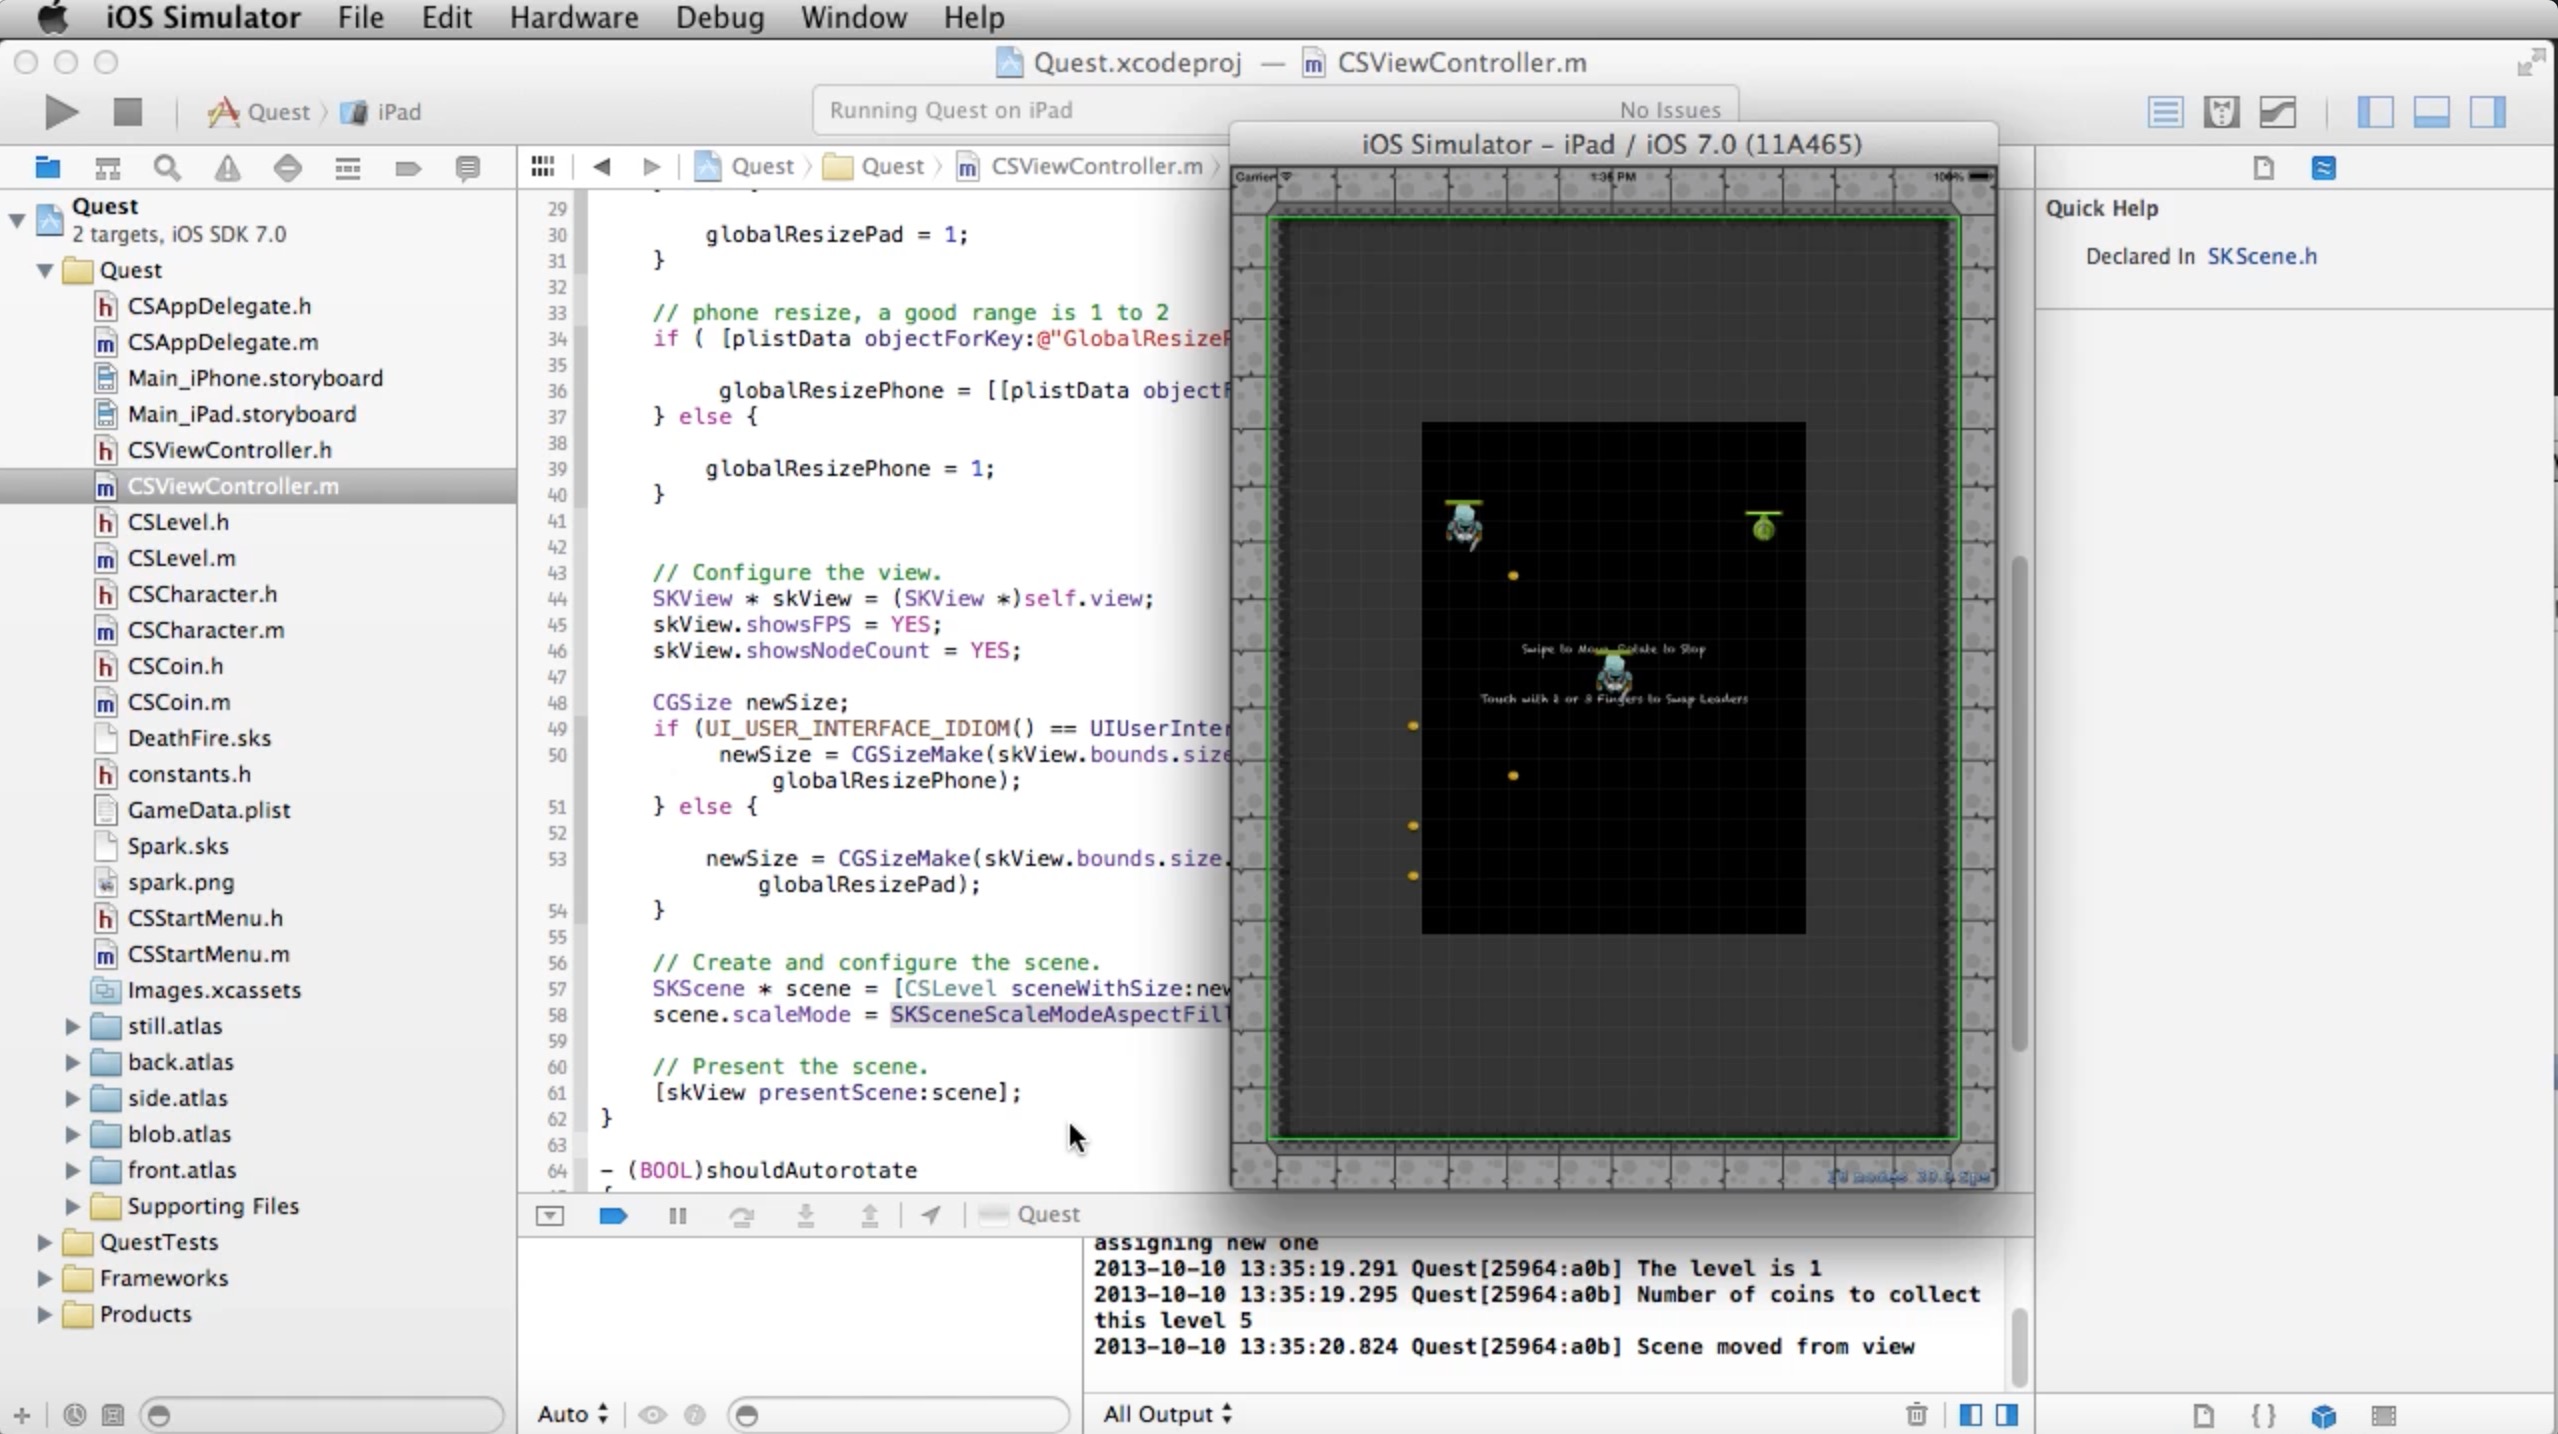
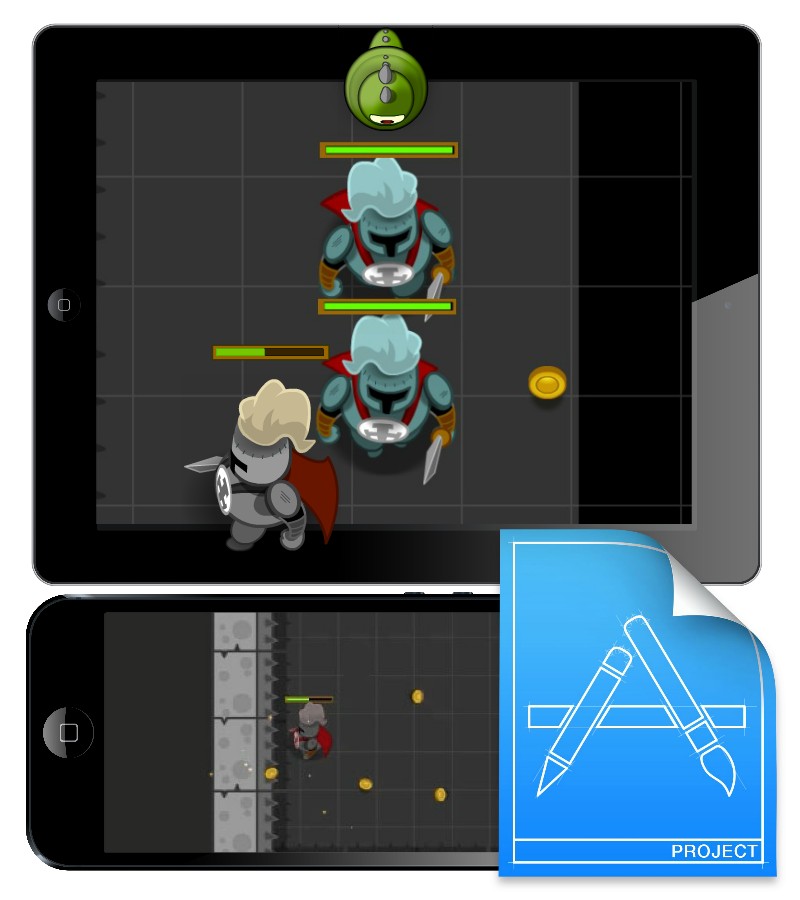
In this series of lessons on Sprite Kit, we will create a physics-based world with a roaming hero that can collide with other heroes (and make them follow the leader). Nearly everything will be property-list driven and adjustable by changing text in a plist file. We will program an option for each character to include / exclude front animations, side animations or back animations. We will also make each character attack, emit particles, receive damage, have a health meter, advance levels, restart levels and much, much more! All using Xcode and Sprite Kit.
Six action-packed sessions to get you gaming!
Session 1 – Introduction to the RPG World
- Introduction and Property List Features – 16:58 – In this video, we’ll look at various versions of the demo project, each with slight tweaks to the Property List file that drives nearly everything in the published app.
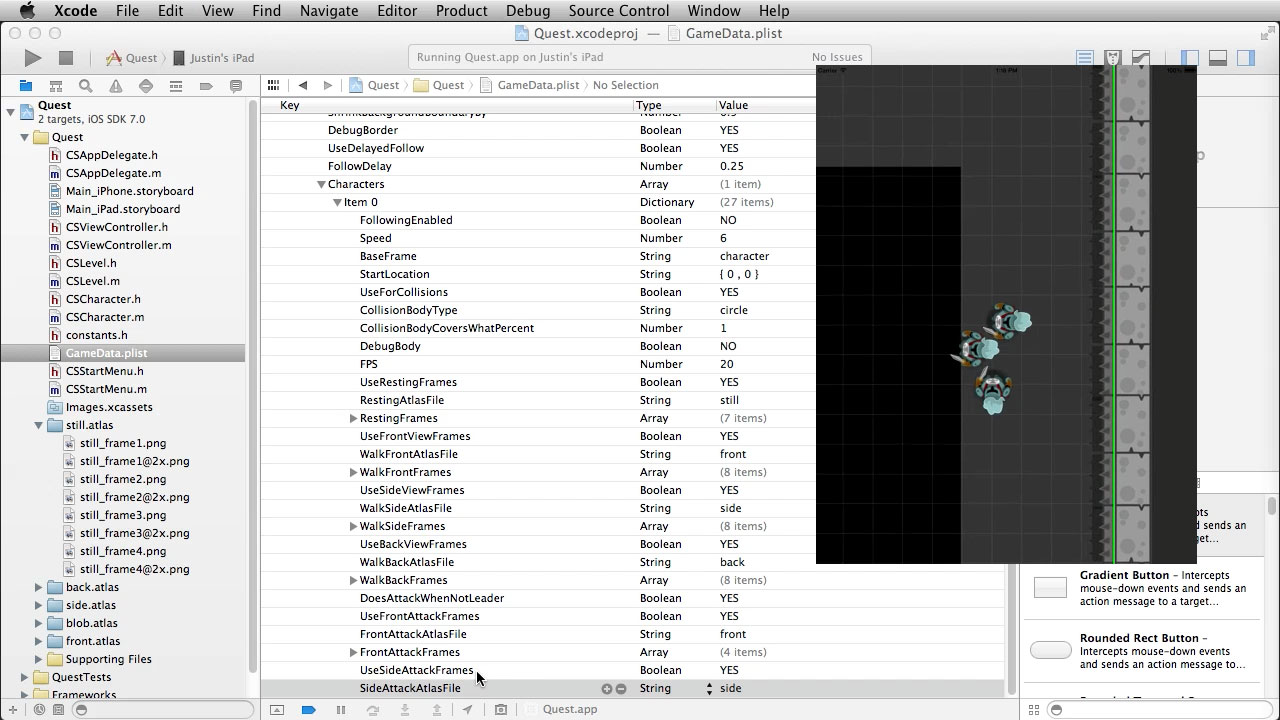
- Initial Setup – 23:54 – In this part of the Sprite Kit tutorial, we will handle most of the initial setup for the project. We import in some images to use early on, setup folders for the texture atlases, create our property list file, constants file and Level / Character classes.
- Creating the Physics-Based World – 19:51 – In this video, we will create a physics-based world with Sprite Kit. This world will contain everything in our role playing game.
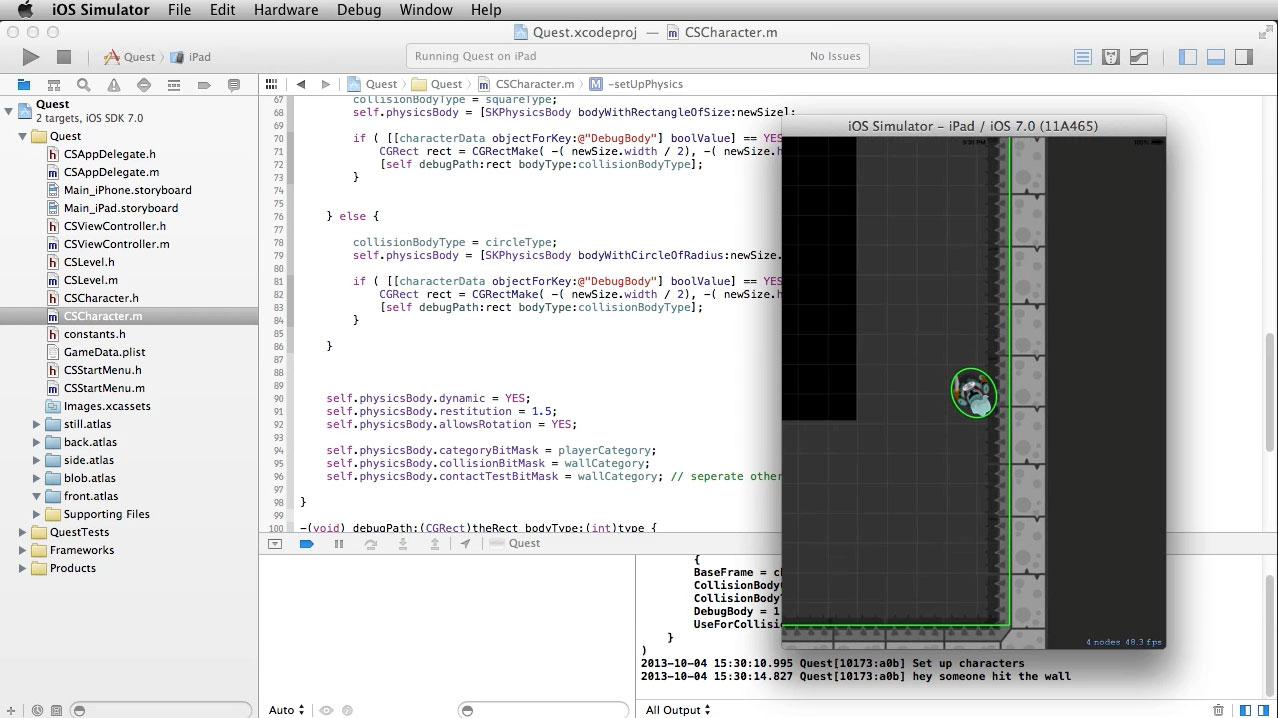
- Creating the Physics-Based World (continued) – 22:45 – Next we will add a character inside of the physics world. To test the physics we will add gravity (later we will disable it), and this will give us an opportunity to test the contact listener delegate and get feedback from the level class when our character collides with a wall.
Session 2 – Property Lists, Debug Borders, Gestures & More
- Using the Property List Data – 19:14 – In this tutorial we will begin using some of the data stored in our Property list file to populate elements in the game.
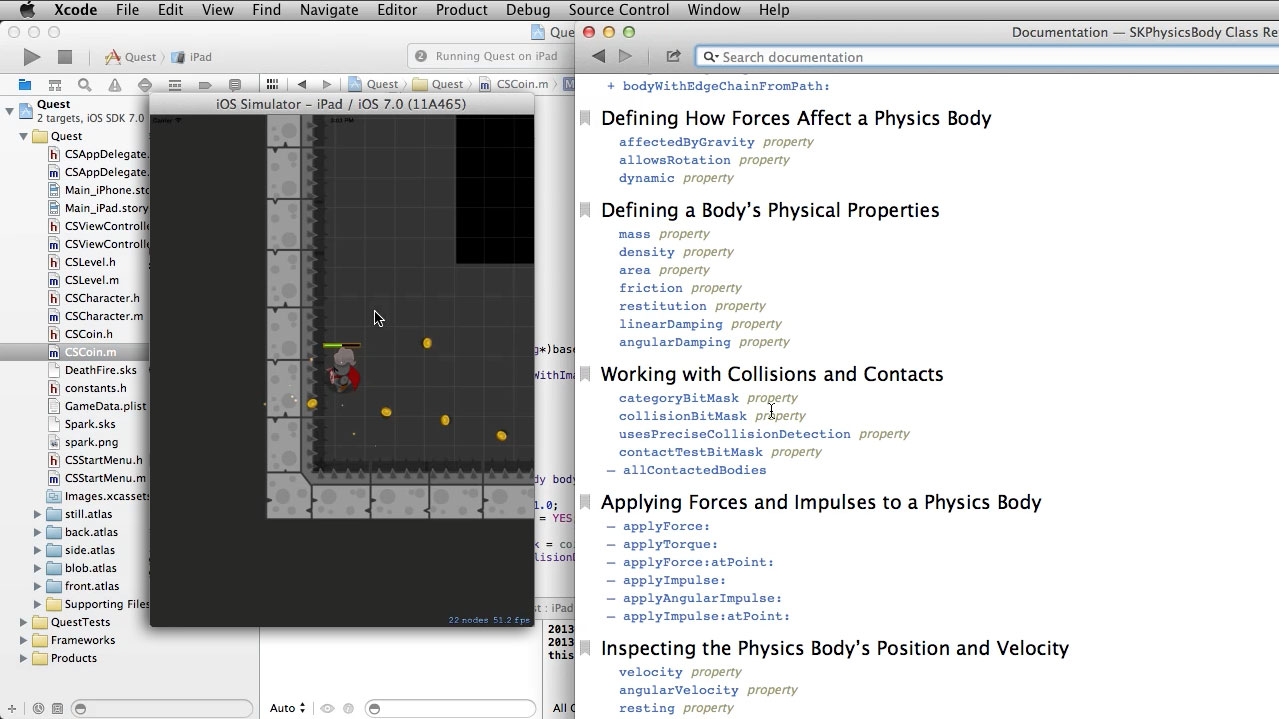
- Adding Debug Boundaries for the Physics Objects – 26:32 – In this tutorial we will add visible paths around our Sprite Kit physics objects. This will help in debugging exactly when objects touch and show us the physics boundaries when we resize to something other than 100% of their corresponding image sizes.
- Adding Gesture Recognizers to the Sprite Kit View – 10:53 – In this video, we will add Gesture Recognizers to detect a swipe up, down, left, right, or a one, two or three finger tap, as well as a rotation recognizer.
- Bringing in Other Characters from the Property List – 13:37 – In this video we will bring in other characters to our Sprite Kit world by parsing through the property list, determining if there is more than one item in the array, then adding that character.
Session 3 – Follow the Leader
- The Update Methods and Initial Directional Movements – 24:45 – In this video we will begin using the update method of the level class to essentially “run” the game and control if everything is paused or not. In turn, this will be used to fire each character’s update method. We will also begin setting the initial directional movements for each character.
- Delayed Followers – 20:33 – In this video, we will setup a delay for the movements of everyone but the leader. We’ll also rotate the characters to face different directions as they move.
- Stopping the Characters – 20:28 – In this video we will learn how to stop the characters and make them fall into position.
- Enabling Characters on Contact with the Leader – 22:59 – In this video, we will define which characters follow the leader by default versus which will need contact with the leader before joining the team.

Session 4 – Textures for Front, Back and Side Views
- Setting up the rest of the Property List – 12:38 – In this video, we will setup the properties we need for the rest of the series. This includes the SKTextureAtlas frames, health options, speed and more.
- SKActions for Changing the Textures of the Character – 22:02 – In this video, we will setup the SKActions used to show texture changes during the walk cycles. We’ll look at SKTextureAtlas and SKTexture class.
- Running the SKActions for Front, Back and Side view Walk Sequences -17:17 – Once the SKActions have been created for each possible direction to walk, we will write the code to actually run the SKActions (if they aren’t nil). We will also change the zRotation and zPosition as needed for each view.
- SKActions for Attacking – 13:23 – In this video, we will use the tap Gesture recognizer to attack, which will call our attack SKActions for various views.

Session 5 – Particles, Health Meters, and Receiving Damage
- Particle Emitters – 16:13 – In this video we will create a Sprite Kit Particle File, and add it as an effect when the character attacks. We’ll setup some properties in the .sks file, and change other properties at runtime using the plist.
- Health Meters and Receiving Damage – 19:44 – In this video we will create SKSpriteNodes for our health meters, and make the characters get damaged if they hit a boundary.
- Game Over – 18:32 – In this lesson, we will create a method to transition back to the Start Menu if the lead player dies and doesn’t have any following players. Otherwise, the follower will take over the lead position.
- Switching Leader Order – 7:32 – In this tutorial, we will use two or three finger taps to switch out the leader with either the second or third player in the character chain. You can extend this to 4, 5, 6, etc taps.
Session 6 – Instruction Text, Bouncing Off Walls & More
- Fading Instruction Text – 14:38 – In this video we will add an SKLabelNode, and write a conveinence method to handle fading and removing any SKNode.
- Bouncing Back From Wall Contact and Flaming to Death – 22:59 – In this tutorial, we will modify the code to bounce back any character that gets damaged by the wall. We will also add a Sprite Kit particle emitter to flame out the character while dying off.
- Collecting Coins – 23:38 – In this tutorial, we will create a new class for coins, then have the character collect them using the physics contact listener.
- Advancing Levels – 10:25 – In this tutorial we will using a static variable to keep count of the current level to load from the property list, and work on advancing levels when every coin has been collected.
- Alternate Property List Locations for the iPhone or iPad – 15:26 – In this tutorial, we will add options IF you want to provide alternate locations for the iPhone or iPad devices. If no alternative is provided the kit will use a default location.
- Resizing the Entire SKScene – 7:05 – In this tutorial, we will resize the Sprite Kit scene, which is the easiest way to scale up or down the entire world without having to account for a scale factor with our SKPhysicsBodies.
- Creating an SKLabelNode for Stats – 4:55 – In this tutorial we will create an SKLabelNode which will count the number of coins collected. This will be included in our world instance, so we will move the label as the leader moves (which makes it appear to stay in one place).
- Applying Physics Force and Impulses to Scatter Coins – 11:50 – In this tutorial, we will play around with some Sprite Kit physics properties and methods by bouncing coins around the scene (great inspiration for many other games).
After your purchase, you’ll always have the know-how to…
- Create subclasses for Hero characters.
- Create a physics-based sprite kit world and center characters in it.
- Use gravity, apply physics impulses, and work with common physics properties.
- React to contacts or collisions.
- Add gesture recognizers to move characters.
- Create your own particle emitters.
- Add health meters above characters.
- Transition scenes when passing or failing levels.
- Use property lists to simplify level construction.
- Use SKLabelNode to display text.
- And much, much more!
Like all our tutorials, you get the finished Xcode projects from the course, which have been been tested with Xcode 6.1

Two affordable purchasing options, both with social-sharing discounts.
Purchase Option 1 - Lifetime Access
Get Lifetime Access to this course for a one-time purchase price. You can download (or stream) the movie files and download any source projects.
Already have Lifetime Access? You can get started watching the video tutorials from right here.
Purchase Option 2 - Subscription Access
Get access to this course and dozens more through the CartoonSmart Subscription. Stream videos from any of your devices and download any source files / projects.
Browse All Courses